
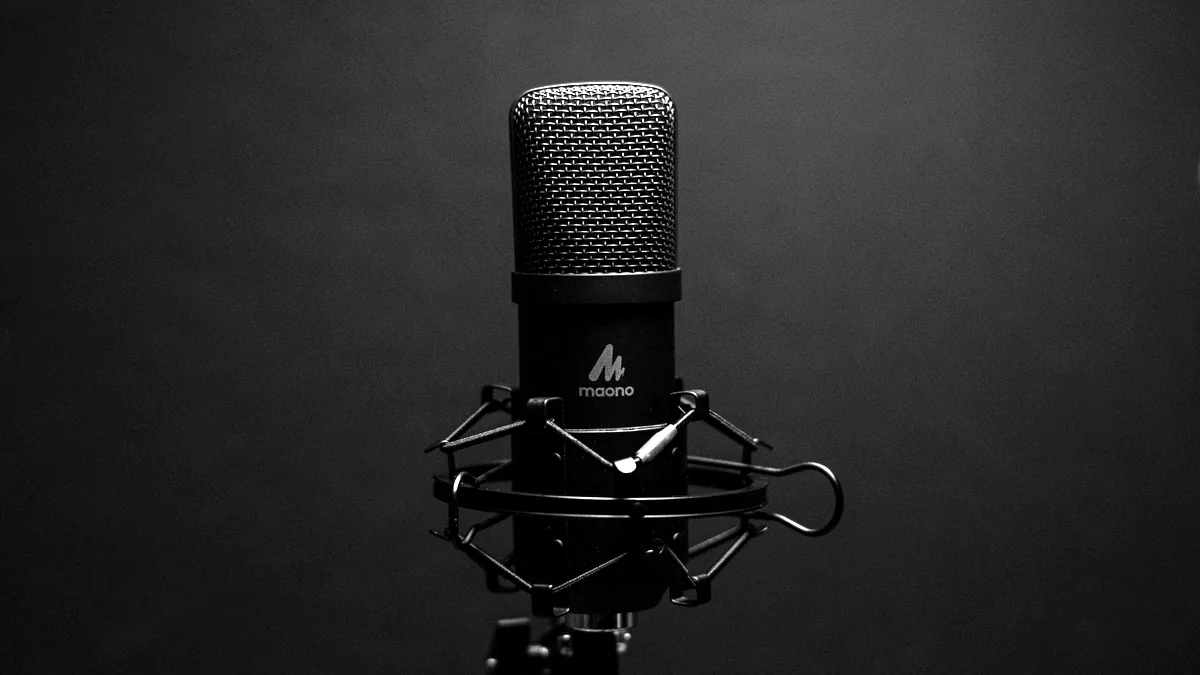
A usable home vocal starts before the plugin chain. Check what the microphone is picking up, what the singer hears and whether the loudest passage records cleanly. These checks are worth doing even when the song is still a demo.
This is a practical starting routine, not a shopping list. Use the microphone and interface you already have, follow their setup instructions and listen to a test before deciding what needs changing.
Record the room for a moment
With the session ready, record a few seconds without singing, followed by one verse line and the loudest hook line. Listen back on headphones. Separate steady noise, room reflections and noises made during the performance: a chair, jewelry or your hand on the stand.
Try another position if the room sounds intrusive. Shure explains that microphone distance affects the balance between direct sound and room sound; closer placement with directional microphones can also increase bass through proximity effect. Use its recording microphone guide as a technical reference, then compare the actual recordings.
You are looking for a useful improvement, not a mathematically perfect bedroom. Write down the position that works so tomorrow’s replacement line does not sound as though it was recorded in a different building.
Find a mic position you can maintain
Start from the manufacturer’s vocal-placement recommendation for your microphone. Record the same phrase at two sensible distances and compare tone, room sound and plosive consonants. Adjust one thing per test. A pop filter and an altered mic angle can help reduce air blasts; Shure covers both in the guide above.
Once you have a sound you like, keep the distance reasonably consistent through a take. Mark your standing position or leave a visual reference on the stand. If you deliberately move for a loud passage, practice that movement with the actual lyric before recording.
Keep the lyric screen where you can read it without repeatedly turning away from the microphone. A dramatic head turn is an excellent visual. The microphone does not get the visual.
Set gain using the loud part
Perform the strongest section at the intensity you intend to record, then adjust the interface input gain so the input does not clip. Leave room for a louder moment in the real take. Focusrite explains why recording digital audio as close as possible to the maximum level is unnecessary in its input-gain guide.
If the hook distorts, inspect the recording input before turning down a playback fader. Repeat the test after adjusting gain. Judge the recorded result, not only the meter you happened to watch.
Keep input gain and listening volume separate. If you cannot hear yourself clearly, adjust the headphone balance between the backing track and voice instead of automatically recording hotter. Make another short recording whenever the setup changes substantially.
Make the headphone mix easy to perform to
Set the beat and vocal monitoring to a comfortable balance. Try less backing-track level before assuming the vocal needs more. Record a quiet gap as well as a sung line and check whether headphone playback is leaking into the microphone; adjust the setup if it is distracting.
If you hear a delayed copy of yourself, check the monitoring path. With a compatible interface, direct monitoring sends the input to the listening output while the DAW still records it. Disable the duplicate software monitoring path when using that setup. Focusrite’s direct-monitoring explanation describes this routing and links to model-specific instructions.
Whatever you hear while singing, establish what is actually being recorded. Keep a short test file so you know whether the effects are only in the listening path or printed into the recording.
Record complete thoughts, then fix specific lines
Try a complete verse or chorus before collecting dozens of isolated words. Choose the take with the performance you want, note the weak spots and record alternatives for those passages. Leave enough context around a replacement to judge how it joins the surrounding phrases.
For a double or harmony, decide its role before recording. Is it supporting the whole hook, emphasizing a final word or providing a separate melody? Label it by that role. Keep unused takes in the session, but make the current lead easy to identify.
At the end, play back the opening, the loudest section and every replacement. Check for clipping, missing words, distracting background sounds and edits that cut off a breath or ending.
Save the session you would want to receive
Keep the original takes and save a clearly dated version before major edits. Once you are ready for someone else to mix, use the vocal handoff checklist to prepare aligned exports and a rough mix.
If the production itself still needs work, a rough recording is enough to start a project conversation. Get the idea down clearly. The final vocal can come after the song has somewhere to live.